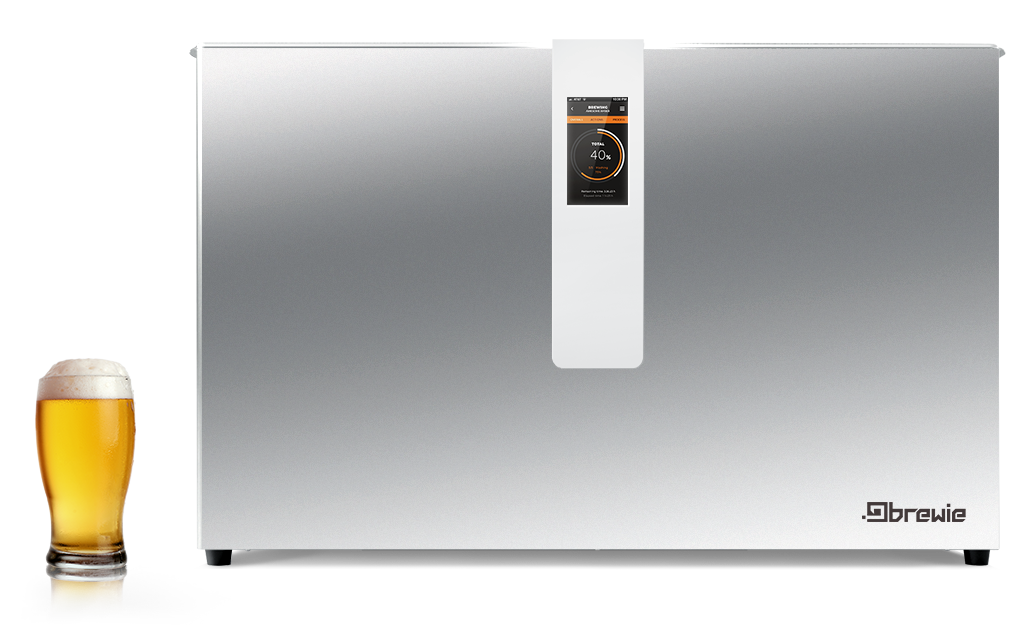
In this video we show you how to enter the Developer Mode on Brewie devices. Follow the step and learn how the device works.
Introduction to Developer Mode
With the aid of the Developer Mode you’ll be able to operate all hardware elements of the machine separately.
Disclaimer
Everything you do using the Developer Mode is your responsibility. Any damage suffered due to the negligent use of Developer Mode is not part of the warranty.
Caution
Do not use Developer mode during any running processes. The safety checks are turned off in Developer Mode. Never turn on the heaters, if there is no water in the tanks. Note, that you can only operate one heater at a time. Once started, the water intake doesn’t stop automatically, never leave the machine while it is filling water. When you drain, make sure the hoses are attached.
Developer Mode is available on all hardware variants starting from software version 3.1.1.
To enter the Developer Mode, type “morecontrol” in the Recipe search field and the Developer Mode appears right away. Enjoy! : )
Through the Developer Mode you can operate the boil and mash pumps (on/off), both heaters (on/off) and 12 valves (open/close, normally closed) and you can see the tank temperatures and the water volume in the boil tank as well.
Instead of explaining the parts separately, we will focus on the integrated function by performing a full manual brew.
1. Mashing water intake: Brewing starts with the mash-in water intake into the boil tank. Press “Water inlet” to open the inlet valve. If the machine is calibrated properly you can follow the process on the screen. ű
2. Reaching mash-in temperature: When there is enough water in the boil tank, activate “Boil heater” to heat mash-in water to the desired temperature then stop the heater.
3. Mash-in: Transfer the liquid to the mash tank by activating “Boil pump”, “Boil return” valve, “Mash inlet” valve and “Mash return” valve buttons. This will direct water through the bottom orifice of the boil tank to the mash tank via the bottom (“Mash return”) and side (“Mash inlet”) orifices.
4. Sparging water intake: After transfer completes, hit “Close all” and open “Water inlet” to allow in sparge water.
5. Mashing: After filling the boil tank start circulation in the mash tank by pressing “Mash pump”, “Mash return” valve and “Mash inlet” valve. Heating can be activated in the mash tank with the “Mash heater” button, if required.
6. Reaching sparge temperature: Since only one heater can operate at a time, if mash heater is not needed, the boil heater can operate and heat up the sparge water.
7. Sparging: When sparge water reaches the target temperature and the mashing process ends, the sparging phase can be started. This is a precisely controlled process. To imitate the automatic sparging, activate “Boil pump”, “Boil return”, “Boil inlet”, “Mash pump”, “Mash return” and “Mash inlet”.
8. Transfer to boil tank: When sparging is done, transfer all liquid from the mash tank to the boil tank. Press “Mash pump”, “Mash return”, “Boil return” and “Boil inlet”. This will pump liquid via the bottom orifice of the mash tank into the boil tank.
9. Boiling: After transfer completes, start “Boil heater” to bring the liquid to boil. The previous step can be repeated to pump the dripping wort from the mash tank to the boil tank as well.
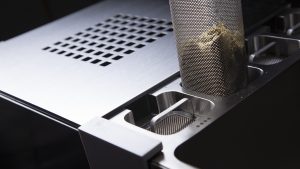
10. Hopping: Start “Boil pump”, open the “Boil return” valve and with buttons “Hop 1-4” the hop tanks will allow the hot liquid flow through the hop cages.
11. Cooling: After boiling, the hot wort can be cooled down. Start wort circulation in the heat exchanger by pressing “Boil pump”, “Boil return” and “Cool valve”. To start cooling, open the “Cool inlet”.
12. Sedimentation: To sediment the particles, hit “Close all”.
13. Draining: When sedimentation completes, the wort can be drained
a – Following sedimentation, drain the wort from the hop tanks by opening the hop valves #1-#4 and the “Outlet valve”
b – Drain the boil tank while leaving the sediment behind, open “Outlet valve” and “Boil inlet”
c – or to drain all: start “Boil pump”, open “Boil return” and “Outlet valve”
If you would like to now more about the homebrewing or the Brewie+ join the BeerExplorersClub.org Cheers!


